Showing posts with label Halloween. Show all posts

Toasted Garlic Lime Pumpkin Seeds Recipe


We are enjoying the post-Halloween calm. How about you? I discovered when my son was in preschool that he loves toasted pumpkin seeds! This is a wonderful Halloween or Fall after school snack. If you love roasted toasted pumpkin seeds then you will enjoy this tangy twist on a classic holiday treat.

Toasted garlic and lime pumpkin seeds are easy to make with this simple recipe:

You'll Need: 
1-1 1/2 cups pumpkin seeds (rinsed and dried)
1/4 cup melted butter
2 tsp lime juice
1/2 tsp garlic salt or garlic powder
pepper to taste

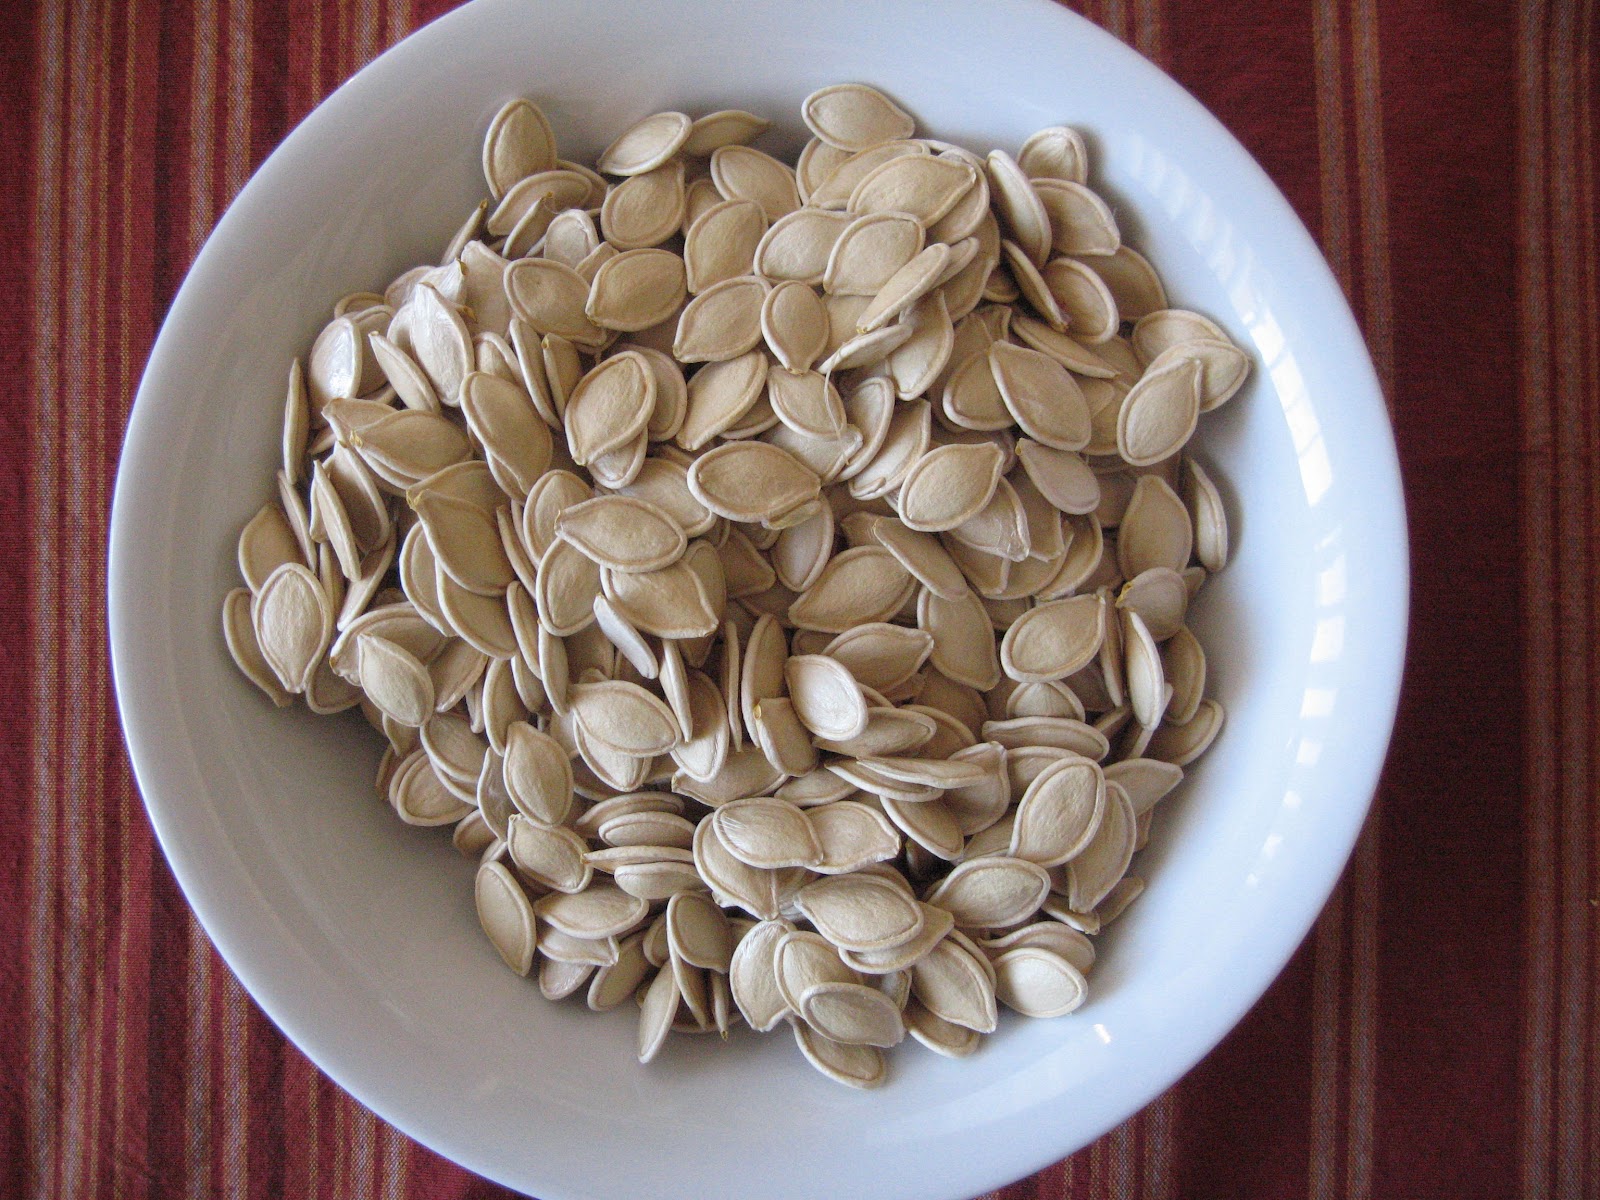
Rinsing and Drying Pumpkin Seeds:
  • Scoop out your pumpkin seeds from inside the pumpkin, separating them fom the gooey insides. Place seeds in a colander. 
  • Rinse the seeds until all the pumpkin "goo" is off. 
  • Spread them over a flat baking sheet to dry over night.

Short on drying time? I hear a blow dryer works well.


Directions:
  • Once dry, put pumpkin seeds in a mixing bowl. 
  • Melt 1/4 cup butter in a small bowl or glass pyrex 2 cup measuring cup
  • Mix melted butter, lime juice, garlic salt and pepper. 
  • Pour over pumpkin seeds, toss to coat all the seeds
  • Spread the garlic-lime coated seeds on a foil lined baking sheet.


  •  Bake at 300 degrees for 20 minutes plus, or until golden brown. *Oven heats vary, so watch your seeds closely. (I prob could have left mine in longer, I just couldn't wait to try them!)


  • Once out of the oven, add a dash of garlic salt for a little extra garlic-y flavor.
  • Serve and enjoy!
For kids who don't like the tangy flavor of garlic-lime, try these toasted cinnamon sugar pumpkin seeds.

Replace above ingredients with:
1/4 cup melted butter
1/4 tsp cinnamon
2 tsp sugar


Sprinkle with sugar once out of the oven.

See recipe inspiration here: allrecipes.com

Do you like roasted pumpkin seeds? Have a favorite recipe to share? Leave a comment!

Chocolate Covered Ghost Strawberries

*This post has garnered a few pinterest mentions lately, so I thought I would share it again with all of my current readers in case you missed it last year. 

Aren't these adorable?  


 I think these little white chocolate-covered strawberry ghosts are the perfect Halloween treat for kids and parents to make together. If you can make chocolate covered strawberries, you (and your kids) can make these.

You'll need:
  • Strawberries
  • 1 pkg. white chocolate or almond bark
  • baking sheet
  • wax paper
  • chocolate sprinkles or chocolate chips 
Here's how:
  • Line a baking sheet with wax paper
  • Slice the tops off of your strawberries.
  • Melt chocolate as directed on package
  • Dip the pointed end of the strawberries in the chocolate and lay them, flat end down on the baking sheet.
  • Apply sprinkles or choco chips for the eyes and mouth.

Eat and enjoy!

This was one of thpse activities that just sort of happened. I knew I wanted to make chocolate covered strawberries, but the "ghost" just came together. Muffin Tin Boy got very into it as went along and was very proud of his creations. With kids, I would expect them to look anything like actual ghosts. :)


*Originally published  October 2010, muffintinmom.com. Chocolate Covered Strawberry Ghosts post republished with permission.


For more fun Halloween treat ideas check out


Eighteen25's Halloween goodies 


and the these super fun halloween themed dipped oreos

Healthy Halloween Snack Pumpkin Happy Face


 Here's how to make pumpkin orange slice happy faces. It's perfect healthy healthier Halloween snack! Oranges are in season year round here, so we have plenty!


Here's what you'll need:
  • 1 orange 
  •  sharp knife
  • straw
  • cutting board
  • circle cutter (or something similar, like a small drinking glass)
  • 1-2 fruit leather strips

Slice your oranges flat into circles. I can get 3-4 large circles out of 1 orange

 open your fruit leather. Using the straw punch out tiny circles

using the circle cutter, cut out a half circle

cut the half circle again to make the mouth.

To make triangles, cut the left over half of the half circle at a diagonal, like so.

You should end up with this for face pieces

 To make the winky eye, cut slits in a triangle piece of fruit leather

To assemble your pumpkin smiley faces, 
you might need to enlist the help of the power rangers. 

The kids can put the eyes, nose and mouth on themselves, 
or you can do and surprise them with a fun and healthy Halloween snack! 

To make the jack-o-lanterns from yesterday's post, just cut triangles and half circles from the fruit leather.

Muffin Tin Monday - Halloween Theme

It's time for Muffin Tin Monday, Halloween Edition. I hope you enjoy this week's submissions. This week, we were so excited to share the incredibly cute ceramic muffin pan that my dear friend Alicia was able to find for me...It's a 12 cup-er, but I was only able to come up with food for 9 cups. :) I didn't get too super involved this week and just kept it simple with a few fun food items for an afternoon snack.


I was able to make some fun jack-o-lantern faces with orange slices, a knife, a circle shaped fondant cutter and fruit leather.


A fun surprise awaited the kids as they ate. When they finished what was in the cup, they were greeted by some fun images like this one:


Now it's your turn! I can't wait to see all of your submissions. To find out more about Muffin TIn Monday, be sure to visit the MTM FAQ page and to join in this week's fun, click on the blue "add your link" button below, to add the url of your blog post or photo hosted on another page. Happy clicking!

**side note: I may not be able to comment on everyone's posts each week, but please know I click through and check them all out and I enjoy each and every one. :)

Pumpkin Paper Plate Craft For Kids

Today I am so pleased to welcome Katie as a guest blogger on Muffin Tin Mom. She is so creative and a joy to know and connect with. While this pumpkin craft is geared for the classroom, it's also fantastic to do at home, I hope you enjoy it as much as I do. 


Pumpkin Paper Plate Mask 

This cute paper plate pumpkin mask is the perfect seasonal photo prop. It's fun to make and a great classroom craft. A set of class pictures with students holding up their masks look great on a bulletin board with the title "Welcome to Our Pumpkin Patch". They are also good to use with a group to reenact popular songs like "Five Little Pumpkins".
Materials:
paper plate
orange paint
empty toilet paper roll
green pipe cleaner
silk leaves or green craft foam to make leaves
tongue depressor or yarn

Tools:
foam brush
scissors
stapler & staples
glue gun & glue sticks or hole punch & yarn

Step 1: Paint paper plate orange. Make sure you get the edges real good! Let dry and carefully cut the center out. You might want to have an adult help you. (If making these with a group, I suggest cutting all the centers out beforehand.) Step 2: Cut approximately three inches off of an empty toilet paper roll. Very carefully staple to one end of the plate. (You can also cut lengths off an empty wrapping paper roll for a group project)

Step 3: Twist a green pipe cleaner around pencil and carefully slide off. Position your "vine" and staple onto plate near toilet paper roll "stem". Position and staple on silk leaves or use green craft foam to make some and attach.


Step 4: Have an adult hot glue a tongue depressor to finished pumpkin mask. We used a Popsicle stick but it really needs to be bigger to support the mask in place. You can also punch a hole on the left and right side and use yarn to tie your mask onto your face.


Step 5: Hold up your mask and give the camera your biggest smile!

I hope you make one to! If you do, I'd love to see your little pumpkin face☺

Katie is the creative blogger behind Katie's Nesting Spot and the co-founder of ABC/123: A Learning Cooperative. Katie was one of my very first "blogging friends" and I look forward to maybe meeting her in person one day. 

Fall Decorating Ideas


It's getting close to Halloween. And the decorations, displays, and oodles of candy are coming out of the woodwork at every store it seems. My appreciation for Halloween is of a much more understated nature. I appreciate simple Halloween decorating ideas instead of the "more is more" approach.

A few years back I remembered gathering at a friend's house for a mom's night out. It was one of the most beautifully decorated houses for fall I have ever seen. Her signature was candy corn.

That's right candy corn.

She filled vases, jars, and candle holders of all shapes and sizes with the sweet treat and had them grouped together. It was understated, simple and sweet.

You can get that look and do it inexpensively. I purchased all of the items for a DIY candy corn inspired candle holder at the local dollar store.

You'll need:

  • 2 candle holders of various sizes. (Votive or tea light sized plus one more larger size candle holder.)
  • 1-2 bags of candy corn
  • Tea light

How to assemble:

Place the tea light inside the the votive holder and place that inside the larger candle holder.


Pour candy corn in between the two candle holders, thus surrounding the votive. Fill to the top. Be careful not to get any candy corn pieces in the smaller votive holder.


It should look like this...


Light and enjoy during the day or at night.


Hints, Tips, and Tricks:

  • the heat generated by the votive will melt the candy over time. be prepared that the candy will stick to the jar or vase.
  • keep away from small and smallish children
  • never, ever place the tea light directly on or inside the candy without the votive. This could start a fire.

*A special thank you to Amber for her idea and inspiration.

What simple fall decorating ideas to you have?

Halloween Baking Cups At The Dollar Store: A Friday Find


I found these Halloween themed paper cupcake liners and picks at our local dollar store (The Dollar Tree more specifically) .This is one Halloween item I can be glad is out already. :) They'd be perfect for Muffin Tin Meals or baking up some spooky fun! If you are thinking about getting them, I would go as soon as possible, because my experience with seasonal items is that they go fast!

And don't forget to enter my Wilton Giveaway that ends Wednesday!